
In the wild and wacky world of the internet, visuals are the name of the game! Whether you’re a content creator on the brink of stardom, a marketer trying to conquer the digital realm, or just a regular Joe looking to sprinkle some magic into your cat videos, fear not! We’re about to take you on a whimsical journey into the mystical realm of adding photos to your videos. Brace yourself for the adventure of seamlessly weaving pictures into your moving pictures, unveiling the ancient secrets of crafting a tale so spellbinding, your viewers won’t know what hit them – in a good way, of course!
Why Add Photos to a Video?
Before we dive into the nitty-gritty of adding photos to your videos, let’s ponder upon the ‘why’ of it all. Why bother blending these two mediums? Well, the answer is simple—photos infuse life into your videos. They can convey emotions, provide context, and transform a mundane sequence into a mesmerizing tale. Think of it as seasoning for your visual dish; it elevates the overall flavor.
Did you know? Adding photos to a video is not a new concept. Filmmakers have been doing it for decades to enhance their storytelling.
But how can you achieve this effortlessly? The key lies in choosing the right tools.
Choosing the Right Tools
To embark on your journey of seamlessly adding photos to videos, you need the right set of tools. Luckily, there’s a plethora of software and apps at your disposal, catering to various skill levels and needs.
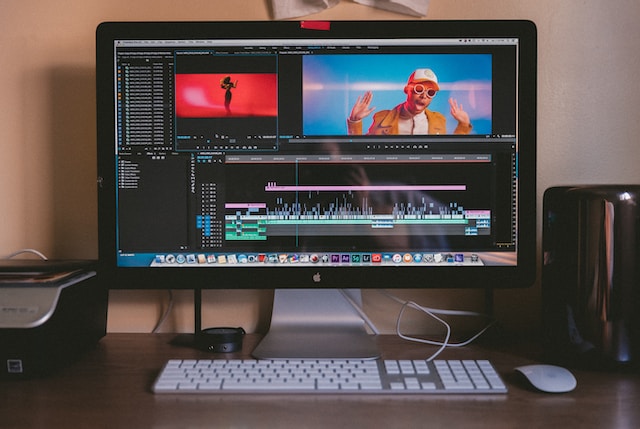
Adobe Premiere Pro – The Professional’s Choice
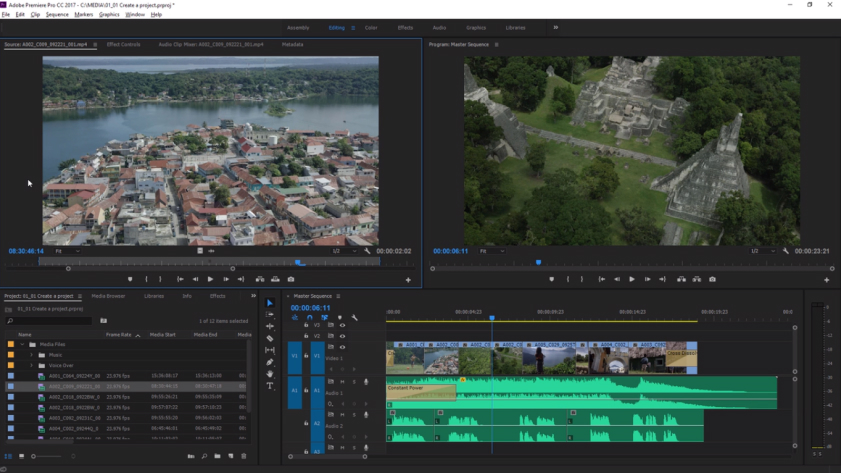
When it comes to professional video editing, Adobe Premiere Pro stands head and shoulders above the competition. This software has earned its reputation as the industry standard, and for good reason. Let’s delve deeper into what makes Adobe Premiere Pro the go-to choice for seasoned video editors and professionals.
1. Robust Feature Set
Adobe Premiere Pro boasts an extensive feature set that empowers editors to turn their creative visions into reality. From advanced color correction tools to a wide range of video and audio effects, it provides unparalleled flexibility and control. Professionals appreciate the ability to fine-tune every aspect of their projects, ensuring the highest quality output.
2. Integration with Creative Cloud
One of Adobe Premiere Pro’s standout features is its seamless integration with Adobe’s Creative Cloud suite. This means easy access to assets from Adobe Stock, integration with Adobe After Effects for complex visual effects, and compatibility with Adobe Photoshop and Illustrator for graphic design needs. The synergy created by this integration streamlines the editing process, making it incredibly efficient for professionals working on multi-faceted projects.
3. Industry-Standard Format Support
In the professional world, compatibility with a wide range of file formats is non-negotiable. Adobe Premiere Pro excels in this aspect, supporting a vast array of video and audio formats. This flexibility ensures that professionals can work with footage from various sources without the headache of format conversions.
4. Precise Control over Transitions
Professional video editing often requires intricate transitions between scenes, and Adobe Premiere Pro delivers in spades. Editors can apply transitions with pixel-perfect precision, ensuring that each cut, fade, or wipe contributes to the overall storytelling experience.
5. Extensive Plugin Support
For those who seek even more specialized features, Adobe Premiere Pro supports a wealth of third-party plugins. Whether you need advanced color grading tools, motion graphics capabilities, or specialized audio processing, there’s likely a plugin that can cater to your specific needs.
6. Regular Updates and Community
Adobe actively maintains and updates Premiere Pro, addressing user feedback and introducing new features regularly. Additionally, the vast Adobe user community provides a wealth of resources, tutorials, and support, making it easier for professionals to stay at the forefront of their craft.
7. Scalability
Adobe Premiere Pro is designed to handle a wide range of projects, from small-scale videos to full-length feature films. Its scalability means that professionals can use the same software for various endeavors, ensuring a consistent workflow and a shorter learning curve when taking on new projects.
iMovie – User-Friendly and Efficient
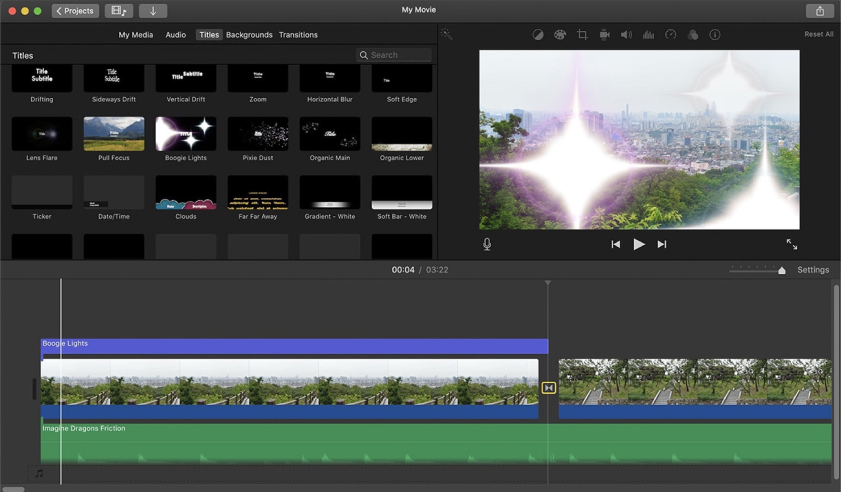
iMovie, developed by Apple Inc., is a video editing software known for its simplicity and efficiency. Here’s why it’s often a top choice for both beginners and more experienced video editors:
Intuitive Interface
iMovie boasts an incredibly user-friendly interface, making it an ideal choice for those just starting their video editing journey. The layout is clean and intuitive, with drag-and-drop functionality that allows users to quickly import and arrange their media files. This simplicity ensures that even someone with no prior video editing experience can get started with ease.
Seamless Integration
If you’re a Mac user, iMovie comes pre-installed on your device, which means there’s no need to hunt for and download additional software. This seamless integration with the Apple ecosystem is a significant advantage. It also allows you to easily access your photos from your iCloud account, making the process of adding them to your videos even more convenient.
Template Library
iMovie offers a variety of templates, themes, and pre-built transitions. These templates can add a professional touch to your videos without requiring extensive editing skills. Whether you’re creating a family vacation video or a marketing promo, you can find a template that suits your needs.
Real-Time Preview
One of iMovie’s standout features is its real-time preview capabilities. As you make edits, add photos, and adjust transitions, you can see the results immediately. This real-time feedback allows for quick experimentation and fine-tuning, ensuring that your video looks just the way you want it to.
Built-in Soundtracks
iMovie includes a library of royalty-free soundtracks and sound effects, making it easy to add audio to your videos without worrying about copyright issues. You can even import your music if you have a specific track in mind.
Easy Photo Integration
Adding photos to your video is a breeze in iMovie. Simply drag and drop your images into the timeline, and they’ll seamlessly become a part of your project. You can then adjust their duration, add transitions, and apply various effects without a steep learning curve.
Mobile Version
While iMovie is primarily associated with macOS, there’s also a mobile version available for iOS devices. This means you can start editing on your computer and continue on your iPhone or iPad, providing flexibility and convenience for on-the-go editing.
InShot – Mobile Editing Made Easy
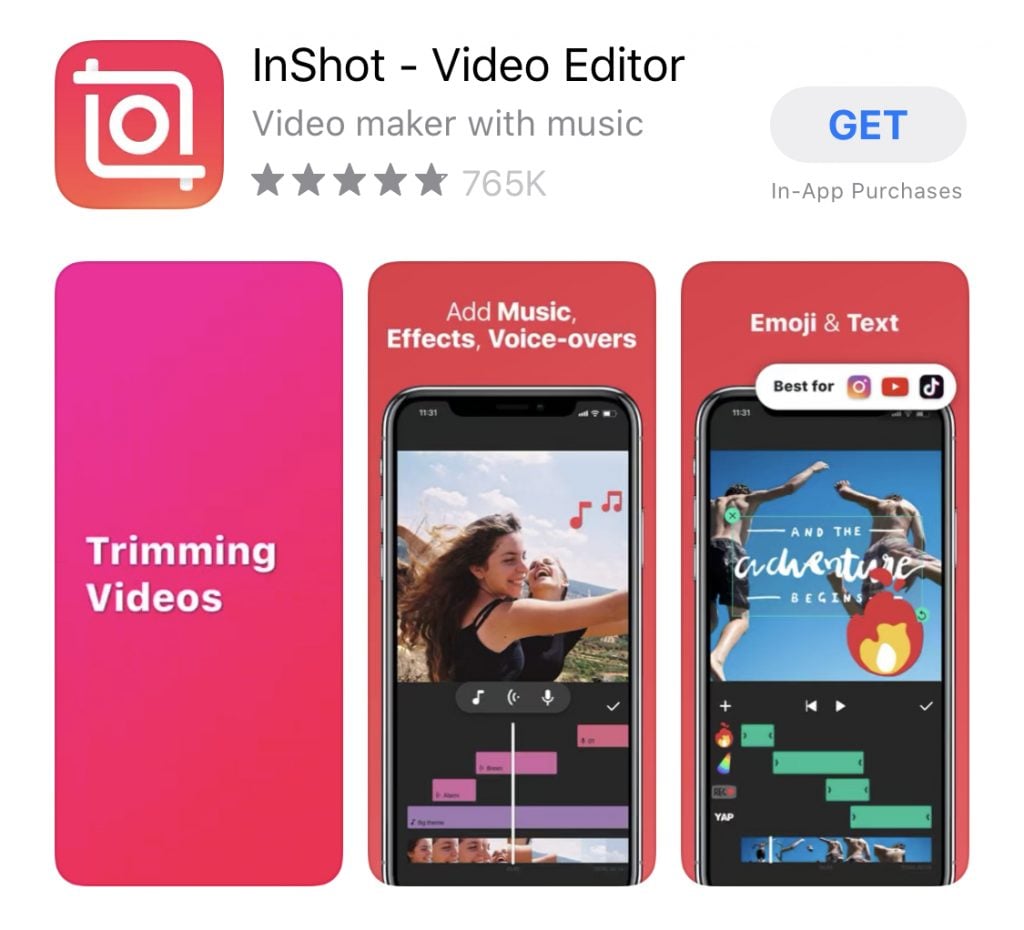
InShot is a mobile video editing app that has gained immense popularity for its simplicity and effectiveness. Whether you’re a beginner or a seasoned content creator looking for a mobile editing solution, InShot has something to offer. Here’s why it’s worth exploring in more detail:
User-Friendly Interface
InShot is designed with user-friendliness in mind. The interface is intuitive, making it accessible to those who may not have extensive experience with video editing. It’s an excellent choice for people who want to get started quickly without a steep learning curve.
Versatile Editing Tools
Despite its simplicity, InShot provides a range of editing tools that allow you to add photos seamlessly to your videos. You can trim, cut, and merge video clips effortlessly. Additionally, it offers various filters, effects, and transitions to enhance your video’s visual appeal.
Photo Integration
InShot excels in its ability to seamlessly integrate photos into your videos. You can easily import photos from your device’s gallery and position them within your video timeline. Whether you want to create a slideshow, emphasize specific moments, or use photos as overlays, InShot offers the flexibility to do so with ease.
Precise Control
InShot grants you control over essential elements like timing, transitions, and the duration of each photo or video segment. This level of control allows you to fine-tune your video to achieve the desired storytelling effect.
Mobile Convenience
The beauty of InShot lies in its mobility. You can edit videos on the go, directly from your smartphone or tablet. This is particularly advantageous for content creators who want to capture and edit moments in real-time, whether it’s documenting travel adventures, sharing instant updates, or creating engaging social media content.
Export Options
InShot offers various export options, allowing you to save your edited video in different formats and resolutions. This versatility ensures that your final video is optimized for various platforms and devices.
Free and Paid Versions
InShot offers both a free and a paid version. The free version provides an array of features, while the paid version unlocks additional advanced tools and removes watermarks. This allows you to choose the level of investment that suits your needs.
InShot’s popularity is further evidenced by its millions of downloads on app stores and its positive user reviews. It has become a go-to choice for many social media enthusiasts, vloggers, and even businesses looking to create engaging mobile video content.
The Step-by-Step Guide
Step 1: Gather Your Materials
Before you start, make sure you have all your photos and video clips organized in one place. This will streamline the editing process and save you precious time.
Step 2: Choose the Right Software
Select the video editing software or app that suits your skill level and preferences. Adobe Premiere Pro, iMovie, or InShot, the choice is yours.
Step 3: Import Your Media
Import your video clips and photos into your chosen editing software. Most applications allow you to simply drag and drop your files.
Step 4: Arrange Your Timeline
Place your video clips and photos on the timeline in the order you want them to appear. This is where the magic of storytelling begins to take shape.
Step 5: Add Transitions
Smoothly transition between your video clips and photos by adding transitions like fades or wipes. This creates a seamless flow in your video.
Step 6: Adjust Timing and Effects
Fine-tune the timing of your photos and videos. You can also add effects like zoom, pan, or color grading to enhance the visual appeal.
Step 7: Add Music and Narration
To further enhance your video, consider adding background music or narration that complements your visuals. This adds depth and emotion to your storytelling.
Step 8: Export Your Masterpiece
Once you’re satisfied with your video, export it in the desired format and resolution. Voilà, you’ve successfully added photos to your video!
Enhancing Your Storytelling
Now that you’ve mastered the technical aspects, let’s talk about the art of storytelling. After all, adding photos to a video isn’t just about the mechanics; it’s about creating a compelling narrative.
Think about the story you want to tell and how the photos you’ve added contribute to that narrative. Are they there to evoke nostalgia, create suspense, or convey joy? The strategic placement of photos can make your story resonate on a deeper level.
- Emotional Resonance: Consider the emotions you want your audience to experience. Are you aiming for nostalgia, excitement, empathy, or something entirely different? Your choice of photos should align with these emotions. For example, in a video about a wedding, candid shots of teary-eyed family members can evoke deep emotions, while scenic photos of the venue can create a sense of wonder.
- Sequencing and Pacing: The arrangement of photos and videos on your timeline matters. Think of it as composing a symphony. Pay attention to the rhythm and flow of your narrative. A gradual buildup to a climactic moment or a sudden emotional twist can keep viewers engaged. Experiment with the order of photos to find the most impactful sequence.
- Context and Story Arc: Every video should have a beginning, middle, and end. Use photos strategically to introduce your topic, develop the storyline, and provide closure. For instance, if your video is about a DIY home renovation, start with ‘before’ photos to set the context, show the transformation process with ‘during’ photos, and finally, reveal the stunning ‘after’ shots to complete the story arc.
- Visual Consistency: Maintain visual consistency in your video by ensuring that the style, color palette, and tone of your photos align. This cohesion prevents distractions and keeps the focus on the narrative. Consistency in visual elements can also contribute to the overall aesthetics of your video.
- Narration and Voiceovers: Consider adding narration or voiceovers to provide context or convey a personal perspective. A well-written script can tie together the visuals and create a powerful narrative. For example, if you’re creating a documentary about wildlife conservation, a compelling voiceover can offer insights and emotions that complement the photos of endangered species.
- Symbolism and Metaphor: Take advantage of symbolism and metaphor to add depth to your storytelling. A single well-chosen photo can convey a broader message. For instance, using a fading flower to symbolize the passage of time in a family history video can be a poignant touch.
Creative Examples
To truly grasp the potential of adding photos to videos, let’s explore some creative examples:
1. Travel Vlogs
Imagine sharing your travel adventures. Adding photos of picturesque landscapes, local cuisine, and candid moments can transport your viewers to the heart of your journey, making them feel like they’re right there with you.
2. Family Memories
Preserve family memories by blending photos from different eras into a video. Watch as smiles, tears, and laughter come to life, weaving a beautiful tapestry of your family’s history.
3. Educational Videos
In educational content, photos can provide visual aids, graphs, and historical references. They reinforce learning and keep your audience engaged.
Mastering the Art
As you continue to experiment with adding photos to your videos, remember that practice makes perfect. Pay attention to feedback and continuously refine your skills. Over time, you’ll find your unique style and storytelling voice.
In conclusion, adding photos to a video is a powerful way to amplify your visuals and tell a compelling story. Armed with the right tools and techniques, you can captivate your audience, evoke emotions, and leave a lasting impression. So, go ahead, embark on your creative journey, and let your imagination soar as you merge photos and videos into a mesmerizing masterpiece.

Marcus Levingston is a Senior Editor and Reviewer for Blubbedev.net, with a deep passion for technology. With a background in Electrical Engineering, Marcus has been reviewing tech products for nearly a decade, offering valuable insights and analysis. Currently, Marcus specializes in testing computer displays and other related technologies, keeping readers informed about the latest advancements.