
In today’s digital age, video content is king. Whether you’re a budding YouTuber, a social media influencer, or a business trying to engage your audience, videos are a powerful way to convey your message. But sometimes, words and moving images alone aren’t enough to tell your story effectively. That’s where adding pictures to your videos comes into play. In this comprehensive guide, we’ll delve deep into the art and science of seamlessly integrating images into your video content. So, get ready to take your video game to the next level!
Why Add Pictures to Your Videos?

Unleash Your Creativity
Have you ever watched a video that felt a bit lackluster, and you couldn’t quite put your finger on why? That’s where pictures come into play. They inject life and vibrancy into your videos. Think of them as puzzle pieces that complete the visual story you’re telling.
Enhance Storytelling
Humans are visual creatures. Pictures help you convey emotions, set the scene, and provide context. Whether you’re explaining a historical event or sharing a personal anecdote, pictures are your storytelling sidekicks.
Grab and Maintain Attention
In the fast-scrolling world of social media, you have only a few seconds to grab your audience’s attention. Adding compelling images to your videos can be the hook that keeps them watching.
Boost Information Retention
Did you know that people retain information better when it’s presented visually? By integrating images, you can reinforce key points and ensure your message sticks.
SEO Benefits
Search engines love multimedia content. By adding pictures to your videos and optimizing them with relevant keywords, you’re more likely to appear in search results. It’s a win-win situation!
Getting Started: Tools and Software
Before we jump into the nitty-gritty of adding pictures to videos, you’ll need the right tools. Fortunately, there are plenty of user-friendly software options available for both beginners and seasoned video creators. Some popular choices include:
Video Editing Software
- Adobe Premiere Pro: A professional-grade video editing tool.
- Final Cut Pro: A popular choice for Mac users.
- DaVinci Resolve: A powerful and free video editing software.
Image Editing Software
- Adobe Photoshop: The industry standard for image editing.
- Canva: A user-friendly online tool for creating graphics.
- GIMP: A free, open-source alternative to Photoshop.
Stock Photo Websites
- Shutterstock: Offers a vast library of high-quality images.
- Unsplash: Provides free, high-resolution photos.
- Getty Images: Known for its premium stock photo collection.
Now that you have your tools ready, let’s dive into the process of adding pictures to your videos.
Tips and Tricks for Stunning Visual Integration
Adding pictures to videos is more than just a technical process; it’s an art. Here are some tips to help you master this art:
1. Maintain Visual Consistency
- Use images that complement your video’s style and theme for a cohesive look.
- Keep a consistent color palette and visual tone throughout your content.
2. Emphasize Key Points
- Use images strategically to highlight crucial information or key moments in your video.
3. Experiment with Transitions
- Try different transition effects to find the ones that best suit your content and tone.
4. Tell a Visual Story
- Plan your visual narrative to enhance the overall storytelling experience.
5. Test on Different Devices
- Ensure your video looks great on various devices and screen sizes to reach a broader audience.
Adding Pictures to Videos: Step by Step
Step 1: Import Your Footage
- Open your video editing software.
- Import the video clip to which you want to add pictures.
- Create a new project if necessary.
Step 2: Import Your Pictures
- Locate the pictures you want to use.
- Import them into your project.
- Organize your images in a dedicated folder for easy access.
Step 3: Place Pictures on the Timeline
- Drag and drop your video clip onto the timeline.
- Position the playhead where you want to add a picture.
- Drag the picture from your project library onto the timeline, placing it on a higher track.
Step 4: Adjust Picture Duration
- Click on the picture clip to select it.
- Extend or shorten the duration by dragging its edges.
- Ensure the picture aligns with the video content.
Step 5: Add Transitions (Optional)
- To make the transition smoother, apply effects like fades or zoom-ins.
- Experiment with different transitions to achieve the desired effect.
Step 6. Overlay Text or Graphics
- If needed, overlay text, graphics, or your brand logo onto the images for added context or branding.
Step 7. Preview and Fine-Tune
- Preview your video to ensure that the images seamlessly blend with the video content.
- Make any necessary adjustments to timing, transitions, or visual effects.
Continue reading to learn more about creative examples, dos and don’ts, advanced techniques, and measuring the success of your video with added pictures.
Creative Examples
Example 1: Recipe Tutorials
Imagine creating a cooking tutorial video. Instead of merely narrating the steps, you can insert images of each ingredient and step-by-step photos of the cooking process. This enhances understanding and engagement.
Example 2: Travel Vlogs
In travel vlogs, pictures can transport your viewers to the locations you’re exploring. Place pictures of breathtaking landscapes or local cuisine to give your audience a taste of the adventure.
Example 3: Educational Content
For educational videos, pictures are invaluable. If you’re explaining complex concepts, use images, diagrams, or infographics to simplify the information and aid comprehension.
The Dos and Don’ts
Dos
- Do Use High-Quality Pictures: Blurry or pixelated images can detract from your video’s quality.
- Do Maintain Consistency: Ensure your pictures match the overall style and theme of your video.
- Do Properly Attribute Images: If using stock photos, follow licensing and attribution requirements.
Don’ts
- Don’t Overcrowd: Avoid cluttering your video with too many images; they should complement, not overwhelm.
- Don’t Forget Copyright: Respect copyright laws when using images to avoid legal issues.
- Don’t Neglect File Formats: Ensure your images are compatible with your video editing software.
Programs to Add Pictures to Videos
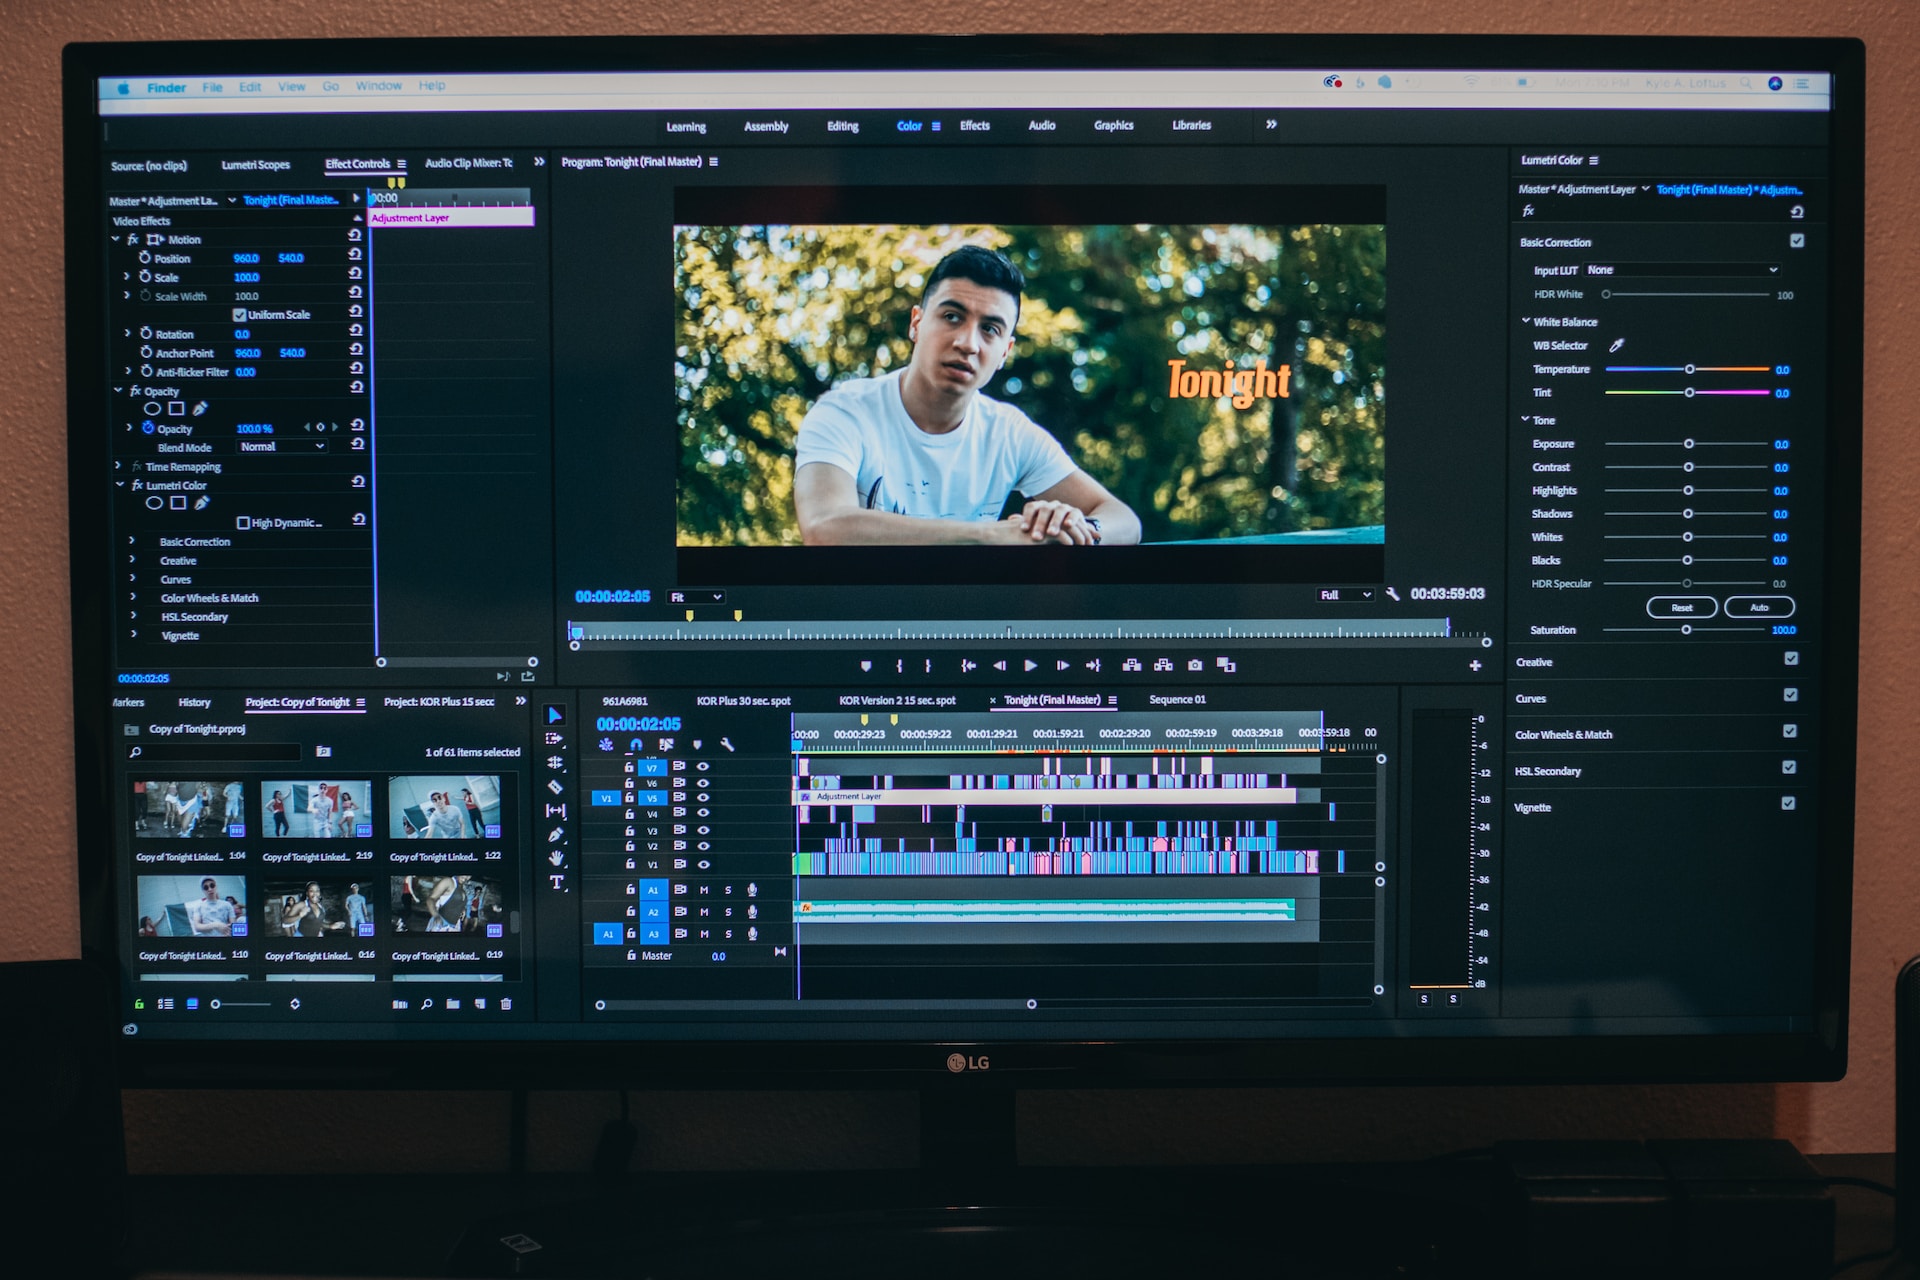
Adobe Premiere Pro
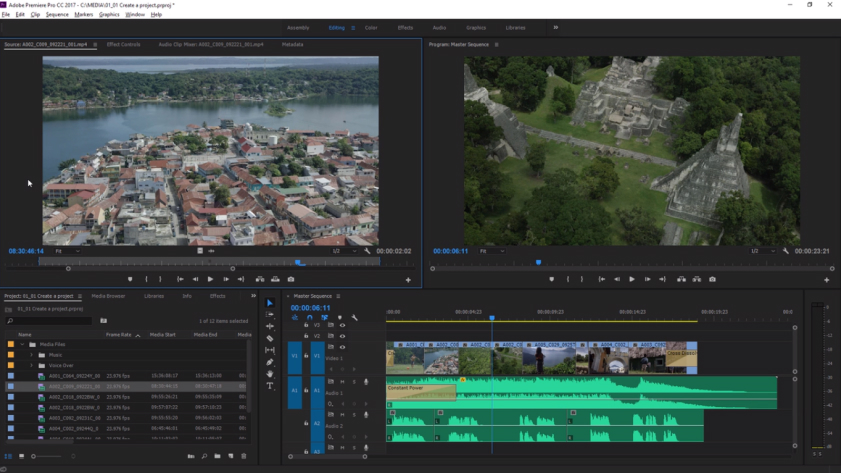
Adobe Premiere Pro is a professional-grade video editing software that offers robust tools for adding pictures to your videos. It’s part of the Adobe Creative Cloud suite and is widely used by filmmakers, content creators, and video editors.
Pros:
- Comprehensive Toolkit: Premiere Pro provides an extensive array of features for image integration, including precise control over timing, transitions, and effects.
- High-Quality Output: It ensures top-notch video quality and supports a wide range of export options.
- Integration with Adobe Ecosystem: Seamless integration with other Adobe products like Photoshop and After Effects for enhanced creativity.
- Advanced Keyframing: Allows for precise animation and movement of images within your video.
- Wide Community and Resources: Extensive tutorials, plugins, and a vibrant user community for support.
Cons:
- Learning Curve: It can be challenging for beginners due to its complexity and professional features.
- Subscription Model: Adobe Premiere Pro is subscription-based, which can be costly for some users.
- System Requirements: Demands substantial computing power, which may not be suitable for older or less powerful computers.
Final Cut Pro
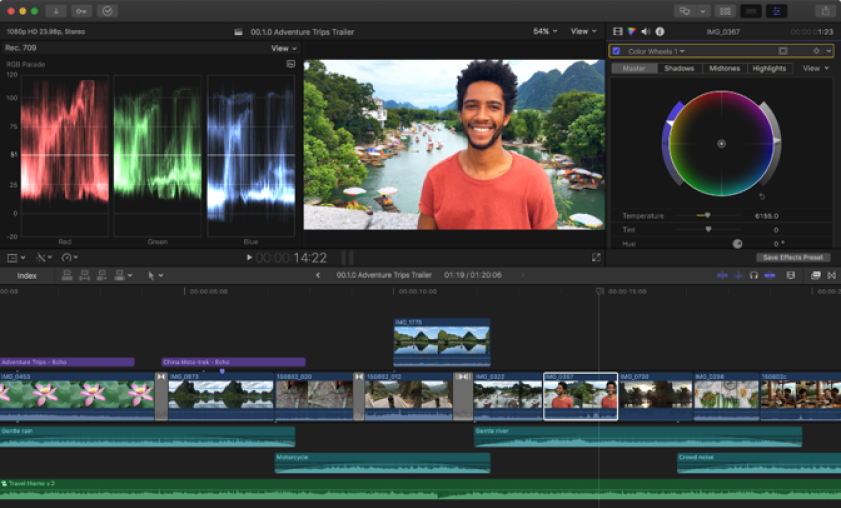
Final Cut Pro is Apple’s video editing software designed exclusively for macOS users. It’s known for its intuitive interface and powerful editing capabilities.
Pros:
- User-Friendly: Offers a user-friendly interface, making it a great choice for both beginners and professionals.
- Optimized for Mac: Takes full advantage of macOS features and hardware for seamless performance.
- Precision Editing: Allows precise control over image integration, timing, and transitions.
- Wide Format Support: Supports a variety of video formats and resolutions.
- Real-Time Preview: Provides real-time playback for immediate feedback on your edits.
Cons:
- Mac-Exclusive: Limited to macOS, which may not be suitable for Windows users.
- Paid Software: Requires a one-time purchase, which can be a significant upfront cost.
- Less Extensive Third-Party Support: While it has a solid ecosystem, it may not offer as many third-party plugins and resources as Adobe Premiere Pro.
Taking It Further: Advanced Techniques
Green Screen Magic
Explore the world of green screen or chroma key effects. This technique allows you to replace the background in your pictures with video footage, creating exciting and surreal visuals.
Animated Overlays
Consider adding animated overlays to your pictures. Whether it’s subtle movement or dynamic effects, these can make your visuals more engaging.
Measuring Success
Adding pictures to your videos is not just about aesthetics; it’s also about impact. Here are a few metrics to consider when measuring the success of your enhanced videos:
- Viewership: Are more people watching your videos?
- Engagement: Are viewers liking, sharing, and commenting more?
- Retention: Are people watching your videos for longer?
- Conversion: Are your videos driving more clicks, sign-ups, or sales?
Conclusion
Congratulations! You’ve embarked on a journey to elevate your video content by seamlessly adding pictures. Remember, pictures are more than just decoration; they’re powerful tools for storytelling, engagement, and conveying information. Armed with the right software, creative ideas, and a dash of experimentation, you can take your videos to new heights.
Now, go ahead and start experimenting with pictures in your videos. The possibilities are endless, and the results can be truly remarkable.
FAQ
Q1: Can I add pictures to videos using free editing software?
Yes, many free video editing software options, such as DaVinci Resolve and HitFilm Express, allow you to add pictures to videos. These tools offer a range of features for creative video editing without breaking the bank.
Q2: Do I need to worry about image resolution when adding pictures to videos?
Absolutely! The resolution of your pictures should match the resolution of your video project. Mismatched resolutions can lead to a loss of image quality or scaling issues.
Q3: How can I find high-quality, royalty-free images for my videos?
You can explore websites like Unsplash and Pixabay for free, high-resolution, and royalty-free images. Additionally, paid stock photo platforms like Shutterstock and Getty Images offer extensive libraries of premium-quality images.
Q4: Can I add pictures to videos on mobile devices?
Yes, there are mobile apps available for both Android and iOS that allow you to add pictures to videos. Popular options include Kinemaster, InShot, and Adobe Premiere Rush.
Q5: Are there any copyright considerations when using images in videos?
Absolutely. When using images in your videos, ensure you have the appropriate rights or licenses. For stock photos, follow the licensing terms provided by the source. When using images created by others, seek permission or provide proper attribution as necessary to avoid legal issues.

Marcus Levingston is a Senior Editor and Reviewer for Blubbedev.net, with a deep passion for technology. With a background in Electrical Engineering, Marcus has been reviewing tech products for nearly a decade, offering valuable insights and analysis. Currently, Marcus specializes in testing computer displays and other related technologies, keeping readers informed about the latest advancements.